

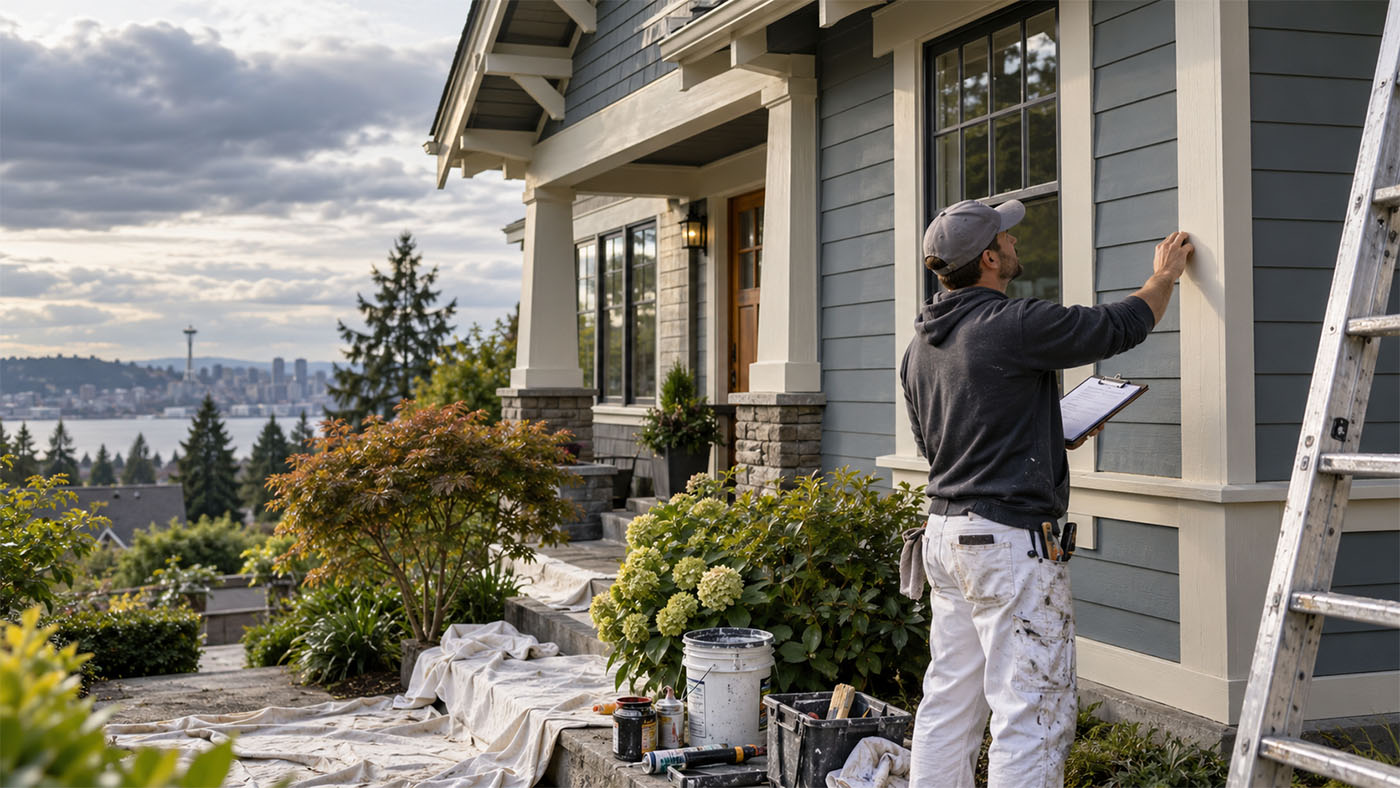
Few home maintenance projects inspire as much dread as walking outside two summers after painting your house and noticing the first curled edges of peeling paint. It usually starts small: a few blisters along the sunny south-facing trim, a hairline split near the bottom edge of a lap board, or flaking paint around a window sill. Within a season, those minor flaws turn into jagged patches of exposed wood, and sheets of dried acrylic begin falling into the mulch below.
The instinctive reaction is to blame the paint. Homeowners assume they bought a bad batch, chose the wrong brand, or were misled by the manufacturer’s lifetime warranty. Yet professional painters know that paint formulation is almost never the culprit behind premature failure. Modern acrylic latex coatings are remarkably resilient; they flex with seasonal shifts, resist ultraviolet degradation, and hold their color for well over a decade.
When exterior paint curls, blisters, and pulls away from siding in sheets, it is virtually always an adhesion failure rooted in the hours spent preparing the surface before the can was opened. Painting is the fun, rewarding phase where visual progress happens rapidly. Surface preparation, by contrast, is grueling, dusty, and unglamorous. As a result, homeowners routinely cut corners on the exact prep steps that make paint stick.
Understanding why paint peels—and the critical prep work people skip—is the only way to break the endless, exhausting cycle of repainting your home every three years.
The Illusion of Clean: Why Pressure Washing Backfires
The first instinct of almost every ambitious homeowner tackling an exterior paint job is to rent or buy a high-pressure washer. It makes intuitive sense: you want the siding clean, and a three-thousand-pound-per-square-inch water jet feels like the fastest way to blast off dirt, grime, and failing paint simultaneously.
Unfortunately, aggressive pressure washing often creates far more damage than it solves.
High-pressure water acts like a hydro-demolition tool against older wood. It gouges soft grain, raises wood fibers into fuzzy splinters, and forces water under siding overlaps and through unsealed window surrounds. More dangerously, it injects gallons of moisture deep into the cellular structure of dry wood. That trapped moisture can take weeks of dry, eighty-degree weather to fully evaporate. When homeowners power wash their siding on Saturday morning and begin applying primer on Sunday afternoon, they trap that water inside the substrate.
When the sun warms that newly painted wall, the trapped moisture heats up, turns into vapor, and expands. Because the water has nowhere else to go, it pushes outward against the freshly cured paint film, forming large, water-filled blisters that eventually burst and peel.
Beyond water intrusion, pressure washing alone fails to remove chalking, a major barrier to adhesion. Over time, sunlight breaks down the chemical binders in old exterior paint, leaving behind a fine, powdery residue on the surface. If you rub your hand across weathered paint and your palm comes away covered in white or colored powder, that is chalk.
Water spray simply moves chalk around; it does not dissolve or lift it. Painting over chalk is identical to sticking a piece of duct tape to a table dusted with flour. The new paint bonds to the loose powder rather than the sound surface beneath, guaranteeing that the entire coat will peel away the moment thermal stress sets in.
True cleaning requires washing with a dedicated cleaner formulated to remove grease, mildew, and chalk. This means applying a house-wash solution containing sodium percarbonate or a mild detergent mix, scrubbing the surfaces with a stiff-bristled extension brush to mechanically break the chalk’s bond, and rinsing thoroughly with low, gentle garden-hose pressure.
Scraping Flakes Versus Creating a Sound Transition
Once cleaning is finished, homeowners turn to the paint scraper. Most people scrape until obvious, loose flakes stop falling into their face shields, declare the wood ready, and pack the scraper away.
Stopping at the point where large flakes cease to drop is one of the most common prep mistakes. An edge of old paint that feels relatively tight to your fingernail today may already be partially debonded at the microscopic level. If you leave a blunt, jagged edge of old paint sitting proud of the bare wood, you create a ledge that collects rain, holds windblown dirt, and catches morning frost. As seasons change, moisture wicks beneath that hard edge, lifting the paint from behind.
Professional prep work relies on feather-sanding. Once you scrape away the obviously loose material, every single perimeter where bare wood meets old paint must be sanded smooth.
Using an orbital sander or a contour block loaded with sixty- to eighty-grit abrasive paper, you must grind down the abrupt edge of the sound paint until it tapers gradually into the bare wood. When you run your bare fingertips across the transition with your eyes closed, you should not be able to feel where the paint stops and the wood begins. Following this with a finer one-hundred- or one-hundred-twenty-grit paper smooths the wood fibers so they do not telegraph through the finish coat.
Feathering edges prevents water from lodging against paint borders, eliminates stress concentrations during seasonal expansion, and gives the new coating a continuous, contoured surface to grip.
The Gray Wood Trap: Painting Over Dead Fibers
When paint peels away and leaves bare wood exposed to the elements for months—or years—homeowners frequently paint right over that weathered, silvery-gray surface.
This is a recipe for instant failure. Wood is an organic composite primarily made of cellulose and a natural polymer called lignin, which binds the cellulose fibers together. When unprotected wood is exposed to ultraviolet light from the sun, UV radiation destroys the lignin near the surface, a process known as photodegradation.
That weathered gray wood is not simply dirty; it is structurally dead. The cellulose fibers on the surface are detached from the healthy wood cells underneath. If you apply primer or paint to gray wood, the coating bonds tenaciously to those loose, dead fibers. The moment the boards expand or contract, the gray fibers rip free from the substrate, and the new paint peels off with a layer of wooden fuzz clinging to its backside.
Before any primer touches bare exterior wood, you must remove the dead wood layer until you expose bright, fresh, natural timber. In most softwoods like cedar and pine, this healthy layer is pale yellow, cream, or light amber.
Achieving bright wood requires aggressive mechanical sanding or the careful application of wood-brightening cleaners based on oxalic acid, followed by firm brushing. If you do not sand down to healthy grain, no primer on the market will maintain a bond.
The Moisture Content Mystery
Carpenters and flooring installers wouldn’t dream of laying hardwood flooring without checking the moisture content of the subfloor. Yet homeowners routinely paint siding after rainstorms or humid mornings without knowing how damp the wood actually is.
Wood is hygroscopic; it absorbs and releases water in response to ambient relative humidity. To hold an exterior coating permanently, the wood’s moisture content must remain below fifteen percent. Anything higher creates high risk of adhesion loss, and wood over eighteen percent will almost certainly push paint off within months.
Visual inspections are useless for gauging moisture. A cedar clapboard can feel completely dry to the touch on the surface while its core remains soaked from an unsealed end grain or gutter overflow.
An inexpensive pin-type moisture meter eliminates this guesswork. By pressing two steel pins into bare wood spots across different elevations of the home, particularly on north-facing walls and beneath eaves, you get an immediate digital readout. Waiting two or three days for a damp board to dry under good airflow feels frustrating when you are eager to finish a project, but it is the difference between a coating that lasts fifteen years and one that falls off in fifteen months.
The Problem with “Paint and Primer in One”
Marketing departments at major paint manufacturers have spent two decades convincing consumers that dedicated primers are an obsolete relic of the past. The rise of self-priming “paint and primer in one” coatings has simplified shopping, but it has caused countless paint failures on weathered exterior substrates.
Self-priming topcoats are almost always thick, high-build acrylic emulsions. They are engineered to sit on the surface, level out smoothly, and create an opaque, durable, color-retentive barrier. Because their molecules are relatively large, they excel at bridging minor imperfections and building a heavy protective film.
What they cannot do is penetrate deeply into the open, porous cell structure of bare, weathered timber.
Bare exterior wood demands a dedicated primer formulated with tiny molecular resin particles. High-quality exterior primers—particularly slow-curing long-oil alkyd primers or specialized acrylic exterior bonding primers—are specifically designed to sink deep into the grain. They soak into the vascular channels of the wood, anchoring themselves mechanically from within the board while sealing the natural water-soluble tannins that cause unsightly yellow or brown bleed-through.
Once an authentic primer cures, it creates a chemically receptive base designed specifically to bond with the elastic acrylic topcoat. Using an all-in-one paint directly over bare wood leaves your entire coating system resting lightly on the surface, ready to sheer away under the first bout of extreme humidity.
Caulking Mistakes That Trap Water
Caulking is an essential part of exterior prep, but applying it incorrectly or at the wrong stage of the process actively causes peeling.
The first mistake is caulking bare wood. Raw, unprimed wood acts like a dry sponge. If you squeeze high-grade elastomeric acrylic caulk directly onto bare wood joints, the dry wood immediately siphons the water and liquid binders out of the caulk before it can properly cure. The caulk dries out, turns chalky, loses its elasticity, and pulls away from the joint within a single season, opening a channel for rainwater.
Always apply your primer first, let it cure, and caulk afterward. The primer seals the timber porosity, allowing the caulk to cure slowly and bond tenaciously to the primed surface.
The second, more destructive mistake is caulking the wrong joints entirely.
Lap siding, clapboards, and cedar shingles are designed as an overlapping rain screen. Wind-driven rain and interior moisture vapor that migrates through home insulation need an escape route. The horizontal seams where the bottom edge of one clapboard overlaps the top of the board beneath it must never be caulked shut.
When homeowners seal those bottom horizontal joints in a misguided effort to make the home airtight, they turn each siding course into an impermeable water trap. Condensation running down the back of the siding hits the bead of caulk, pools at the base of the board, and soaks into the wood from behind. The paint on the front of the board then peels off in long horizontal strips, destroyed not by weather outside, but by trapped water inside the wall assembly.
Reserve your caulk for vertical seams: corners, casing transitions around windows and doors, and joints where siding meets trim boards. Leave the bottom horizontal laps open so the house can breathe and shed water.
A Reliable Sequence for Paint That Lasts
Achieving a durable, peel-free exterior is not about using secret trade chemicals; it is about respecting the mechanical requirements of adhesion and refusing to rush the steps.
-
Wash the entire structure using a dedicated cleaning solution and a stiff brush to remove atmospheric grease, mildew, and loose chalk. Rinse clean with low-pressure water.
-
Check the wood with a pin-type moisture meter to confirm readings are below fifteen percent before proceeding.
-
Scrape all loose, failing material until you encounter firmly anchored paint that cannot be lifted with a flexible putty knife.
-
Sand down every transition between bare wood and remaining paint, creating a smooth, feathered edge that blends into the surrounding surface.
-
Grind away weathered gray wood until you expose clean, bright, healthy amber grain.
-
Remove all residual sanding dust using a dry microfiber cloth, a soft shop vacuum brush, or a damp rag.
-
Apply a dedicated exterior wood primer to all bare timber, working it thoroughly into the grain with a brush rather than a roller.
-
Allow the primer to dry fully, then apply high-performance elastomeric caulk to vertical joints, trim intersections, and nail holes.
-
Finish with two thin, even coats of high-grade exterior acrylic latex paint, observing the manufacturer’s recommended recoat windows.
Taking the time to complete this sequence turns exterior painting from a frustrating biennial chore into a durable, decade-long home investment. When you do the hard, hidden prep work right, you can finally put your ladders away and trust that the finish on your home will stay exactly where you put it.