

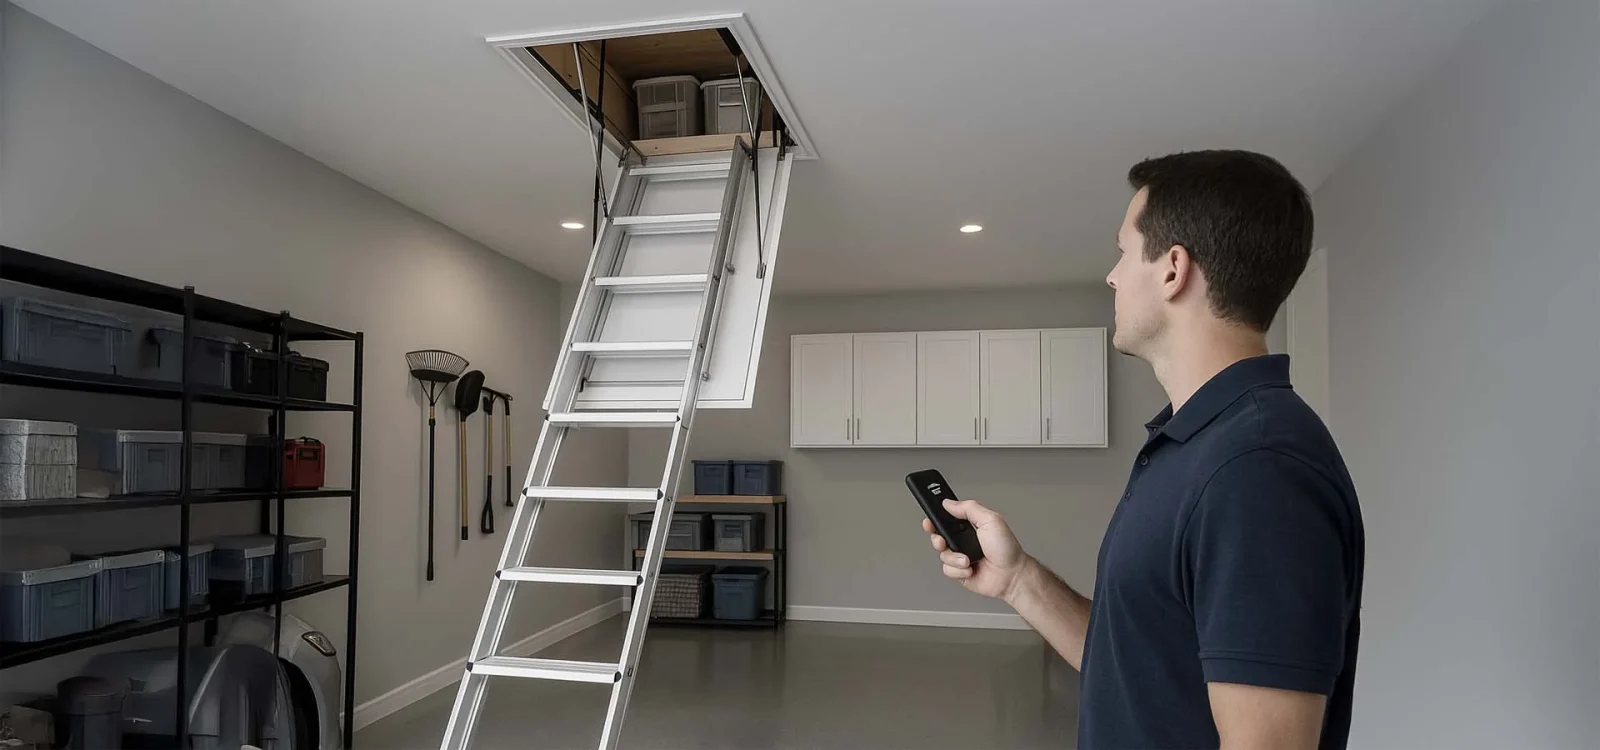
Stand on the second-story landing of almost any American home on a freezing January evening, and you can often identify the coldest zone in the house without checking a thermometer. Walking beneath the pull-down attic stairs, you feel an unmistakable chill dropping from above. In the dead of summer, the opposite happens: stepping under that same ceiling hatch feels like standing beneath an invisible heat lamp.
Homeowners regularly invest thousands of dollars replacing double-pane windows, upgrading heating equipment, and blowing twelve inches of fresh cellulose across their attic floors. Yet they routinely live with a gaping architectural defect right above their heads.
A folding attic stair unit creates a ten- to twelve-square-foot puncture in your home’s thermal boundary. Because it must fold up and store away flush with the ceiling, the typical factory stair assembly provides almost no insulation and zero airtight sealing. Treating your attic stairs as an afterthought compromises the energy performance of your entire home, creates persistent comfort issues in upstairs bedrooms, and drives up seasonal utility bills. Sealing this massive bypass is one of the highest-return weatherization projects you can undertake, provided you understand the building science required to fix it correctly.
The Physics of the Stack Effect: Why Attic Hatches Leak So Severely
To understand why attic stairs cause so much discomfort, you have to examine how air moves through a residential building. A home acts like a vertical chimney, driven by a natural physical process called the stack effect.
During the winter heating season, the air warmed by your furnace or heat pump becomes less dense and rises toward the highest points of the house. As that warm air collects against the upper-level ceilings, it creates positive air pressure. At the same time, cold air infiltrates through the lower levels—cracks in the foundation, gaps around basement sill plates, and seams beneath exterior doors—creating negative pressure near the bottom of the structure.
Because the upper ceiling plane experiences constant outward pressure, it relentlessly forces warm indoor air through every crack, electrical junction box, and recessed light fixture it can find.
Your pull-down attic stair is by far the largest single opening in that ceiling plane. Standard residential stairs measure twenty-two and a half by fifty-four inches, creating a massive perimeter seam roughly thirteen linear feet long. An unsealed gap of just one-eighth of an inch around that edge equals an open hole roughly the size of a standard brick. Day and night, warm air that you paid to condition pours around the edges of the door and escapes into the unconditioned attic space.
In the summer, the stack effect reverses or stalls, but a different problem takes over. Unconditioned attic spaces easily reach one hundred thirty to one hundred fifty degrees under the afternoon sun. That extreme heat transfers directly into the living space through air leaks and pure radiant transmission.
The Insufficient Thermal Barrier of Factory Stair Doors
Air leakage is only half of the equation; the other half is thermal conduction.
Modern building codes recommend an attic insulation value between R-38 and R-60, which translates to roughly twelve to eighteen inches of blown-in fiberglass or cellulose across the attic floor joists.
In stark contrast, the drop-down panel on the vast majority of factory attic stairs consists of a single piece of three-eighths-inch or one-half-inch uninsulated plywood or hardboard. That thin sheet of wood provides an insulation value of approximately R-1.5.
Imagine building a super-insulated exterior wall, cutting out a four-foot by two-foot window opening, and covering that opening with a single pane of corrugated cardboard. That is effectively what an untreated attic stair represents in your ceiling. The heat from your living space conducts straight through that thin wooden faceplate into the freezing attic above. Even if you seal the perimeter cracks against drafts, the face of the door remains cold to the touch, chilling the air around it and inducing drafty convection currents that tumble into the hallway below.
Why Traditional Quick Fixes Universally Fail
When homeowners notice drafts coming from their attic stairs, their first instinct is usually to try one of two common band-aids: laying fiberglass batts on top of the door or sticking open-cell foam tape around the bottom trim. Both solutions fail quickly.
Tossing a scrap batt of pink fiberglass insulation onto the back of the stairs seems logical, but fiberglass does not stop airflow. Fiberglass insulation is essentially a fibrous filter; air passes directly through it with virtually no resistance. Within a few months of regular attic use, that loose batt becomes compressed, torn, and coated in gray dust filtered out of the escaping house air. Every time you pull the stairs down, loose fiberglass particles rain down into your hair, eyes, and carpet.
Standard stick-on foam weatherstripping applied to the wooden frame rarely holds up either. Pull-down stair doors are subject to seasonal humidity shifts, meaning the thin wooden panel tends to warp, cup, or twist over time. Because the internal folding springs pull with uneven tension, the door rarely makes uniform contact with the frame along its entire perimeter.
The weatherstripping gets crushed completely flat in one corner while failing to make contact in another, leaving open channels where air continues to bypass the seal.
Step One: Air-Sealing the Hidden Rough Opening
Before addressing the folding ladder itself, you must address the hidden void surrounding the entire wooden stair frame.
When builders install pull-down stairs, they frame a rectangular opening in the ceiling joists that is slightly larger than the stair unit’s outer wooden box. Once the unit is shimmed, leveled, and nailed in place, trim carpenters nail decorative casing over the gap on the ceiling side.
Behind that decorative casing sits a hollow, unsealed gap between one-half and one full inch wide around the entire perimeter of the unit. This gap connects the attic directly to the back of the hallway drywall.
To fix this, you must air-seal this perimeter from inside the attic:
-
Clear away any loose insulation sitting around the outer wooden frame of the stair assembly.
-
Inspect the gap between the stair unit’s outer frame and the structural ceiling framing.
-
Fill this void completely using low-expansion polyurethane spray foam or a combination of foam backer rod and elastomeric sealant.
-
Ensure the foam expands to create a continuous, airtight gasket that bonds the stair frame directly to the drywall and ceiling joists.
Sealing this hidden boundary stops cubic feet of heated air from escaping around the outside of the casing, ensuring that your subsequent weatherization efforts focus strictly on the movable door.
Constructing an Insulation Dam Around the Hatch
If your attic has loose blown-in cellulose or fiberglass, opening the stair door often triggers an avalanche of dusty insulation into your home. To prevent this mess and provide a solid structural base for a sealed cover, you must build an insulation dam.
An insulation dam is a rigid wooden retaining wall that boxes in the perimeter of the stair opening above the ceiling joists.
Using half-inch plywood, oriented strand board (OSB), or rigid foam boards, build a four-sided collar that attaches directly to the ceiling joists surrounding the stair frame. The walls of this box should stand two to four inches higher than the depth of your existing attic insulation. If you have fourteen inches of blown-in cellulose, build your dam sixteen to eighteen inches tall.
Fasten the corners securely and seal the bottom edges where the dam meets the ceiling joists using acoustic sealant or expanding spray foam. This dam holds loose insulation safely away from the opening and creates a sturdy, level rim to support an airtight attic stair cover.
Choosing Your Cover: Pre-Fabricated Tents Versus Custom Polyiso Boxes
Once the frame is air-sealed and an insulation dam is in place, you need an insulated cover that sits over the closed stairs, creating a continuous thermal boundary. You have two reliable paths: installing a high-grade manufactured cover or building a custom rigid foam box.
Commercial Insulated Zipper Covers
Pre-manufactured attic stair covers—often referred to as attic stair tents—are flexible or semi-rigid domes that mount permanently over the rough opening in the attic.
Quality models feature multi-layer construction incorporating heavy-gauge radiant barrier foils, closed-cell foam cores, and heavy-duty, marine-grade perimeter zippers. When selecting a commercial cover, look for units with an insulation rating of at least R-10 to R-15.
The installation details make or break these covers. The bottom skirt of the cover must be mechanically fastened to the top edge of your stair frame or insulation dam using heavy staples spaced every two inches. After stapling, seal the entire outer flange to the wood using high-performance foil mastic tape or a continuous bead of polyurethane construction adhesive.
When you need attic access, you pull down the stairs, reach up, unzip the heavy-duty zipper, and push the flap aside. When exiting, you zip the cover completely closed, reinstating the airtight seal before folding the stairs back into the ceiling.
The Custom Polyisocyanurate Rigid Foam Box
For maximum thermal performance, building a custom box out of foil-faced polyisocyanurate (polyiso) rigid foam board is the premier choice. Polyiso offers the highest R-value per inch of any common rigid foam board, providing approximately R-6 to R-6.5 per inch of thickness.
To build a custom insulated cover:
-
Cut pieces of two-inch-thick foil-faced polyiso board to construct a five-sided box (four walls and a lid) that fits over the folded ladder assembly.
-
Assemble the box using heavy-duty foam-compatible construction adhesive and long drywall screws with wide plastic washers.
-
Seal every exterior corner and joint using aluminum foil tape rated for HVAC applications, smoothing the tape flat with a plastic squeegee to eliminate air leaks.
-
Doubling the walls and lid with a second layer of two-inch board creates an extraordinary R-26 thermal barrier that matches the performance of the surrounding insulated attic floor.
Because a four-inch-thick polyiso box is lightweight, you can easily lift it aside when accessing the attic. To ensure an airtight seal, adhere a continuous strip of dense closed-cell EPDM rubber weatherstripping along the top edge of the wooden insulation dam. When the foam box rests in place, its weight compresses the gasket, blocking air movement entirely.
Latching and Gasketing the Ceiling Panel
The final step in eliminating drafts takes place downstairs at the ceiling plane. While an insulated attic cover solves the thermal and upper air leakage issues, you should also ensure that the decorative bottom panel closes tightly and evenly against the ceiling trim.
Start by installing a continuous perimeter of hollow core silicone or EPDM bulb weatherstripping inside the wooden ledge where the door panel rests when closed. Avoid cheap, open-cell foam tape, which tears and degrades under repeated friction.
Next, address the door’s closure mechanism. Factory folding stairs rely on counterbalance springs or gas struts to hold the door shut. Over time, these springs lose tension, allowing the panel to sag one-eighth of an inch below the ceiling line.
To achieve a true compression seal, install an adjustable sash lock or heavy-duty cabinet draw latch on the side opposite the hinge. When you push the stairs closed, turning the latch draws the panel up tightly against the ceiling stops, compressing your rubber gasket evenly along all four sides.
The Long-Term Return on Comprehensive Air Sealing
Treating your pull-down attic stairs as a critical component of your home’s thermal envelope transforms how your house feels and performs. Upper-floor landings stop feeling like wind tunnels during winter storms, and upstairs bedrooms stay noticeably cooler during summer heatwaves.
Beyond immediate comfort, stopping the chimney effect at the attic stairs protects the structural health of your roof assembly. When warm, humid indoor air bypasses unsealed hatches during the winter, that moisture condenses against cold roof rafters and roof sheathing, leading to wood rot, rusty fasteners, and attic mold outbreaks.
By air-sealing the rough framing, installing a durable insulation dam, securing an airtight insulated cover, and installing a positive latching mechanism, you eliminate the largest thermal hole in your home. It is a straightforward, weekend-scale project that delivers permanent comfort and pays for itself on every monthly energy bill.