

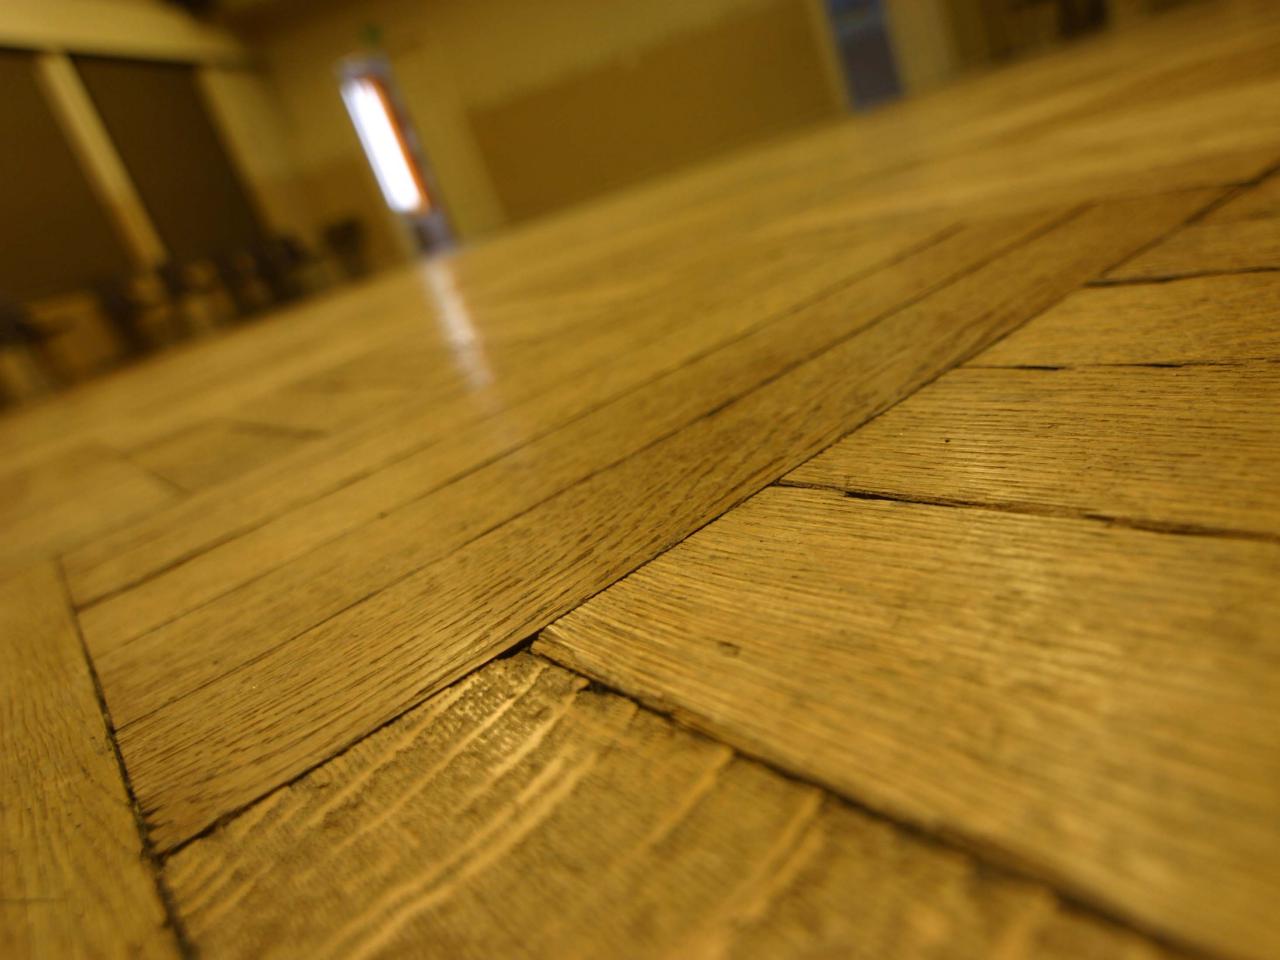
Few household sounds grate on the nerves quite like a sharp, persistent floor squeak. It announces every midnight trip to the refrigerator, wakes sleeping toddlers, and shatters the solid, grounded feel of historic oak or maple planks. Most homeowners attempt to tackle the problem from the top, only to realize their options are dismal. Driving trim nails through the surface leaves visible blemishes in the polyurethane finish, while specialized snap-off screws often leave ragged dimples in the grain that require tricky wood-putty repairs.
If you have an unfinished basement or an accessible crawlspace beneath that offending room, you possess the ultimate structural advantage. Working from below allows you to address the root mechanical failure responsible for the noise without placing a single scratch or hole on your living room floor.
Silence does not come from randomly wedging pieces of wood into your ceiling joists. Squeaks are the direct result of loose tolerances and localized friction. By diagnosing the exact type of movement beneath your floorboards and applying the appropriate structural correction, you can permanently eliminate the noise in a single afternoon.
The Anatomy of a Squeak: Why Floors Start Creaking
Before picking up a drill, you must understand the mechanical failure producing the sound. Hardwood floors rarely squeak simply because the wood is old. They squeak because two components that should remain completely rigid are shifting against each other under foot traffic.
A standard floor assembly is a layered sandwich. At the base are the floor joists—the heavy structural lumber running parallel across your foundation. Resting atop those joists is the subfloor, which in older homes usually consists of diagonal one-by-six pine boards, and in modern builds consists of three-quarter-inch plywood or oriented strand board (OSB). Above the subfloor sits an underlayment layer like rosin paper or asphalt felt, and finally, the finished tongue-and-groove hardwood boards.
A squeak occurs when one of two things happens:
-
The subfloor lifts off the joist: Over decades of seasonal humidity shifts, floor joists dry out, shrink, and cup. The nails securing the subfloor to the joists can loosen slightly, creating a paper-thin void between the framing lumber and the subfloor decking. When you step on that spot, the subfloor deflects downward under your body weight. As you step off, the wood springs back up. The noise you hear is often the shaft of an old smooth nail rubbing against the wood fibers inside the joist as it slides up and down.
-
The subfloor and the hardwood separate: If the cleats or staples holding the finished hardwood to the subfloor have loosened, the tongue of one board rubs against the groove of its neighbor. Alternatively, two layers of subfloor decking may be flexing against one another mid-span, creating friction whenever weight shifts across the room.
To stop the squeak permanently, you must eliminate the void. You must either support the subfloor from beneath so it cannot bend downward, or mechanically pull the loose layers together so they move as a unified, monolithic assembly.
Locating the Squeak: The Two-Person Detective Method
Attempting to locate a squeak from underneath by yourself is an exercise in frustration. Sound resonates through hollow joist bays, making it nearly impossible to pinpoint the exact origin of a squeak while standing beneath a dark basement ceiling.
The process requires two people and a reliable communication system.
Send one person upstairs to walk slowly across the problem area. Have them rock back and forth from heel to toe across the boards until they trigger the loudest, most repeatable squeak. Once they find the exact epicenter, they should tap firmly on the spot with their heel.
Down in the basement, stand directly beneath the room with a bright work light. Press your flat hand against the underside of the subfloor where it meets the joist as your partner steps above you. You will feel a distinct click, tick, or vibration in the palm of your hand the instant the subfloor moves.
Once you isolate the movement, mark the precise location with a bright wax pencil or a strip of painter’s tape directly on the joist. Note carefully whether the deflection is happening directly over the framing member or out in the open bay between two adjacent joists, as this distinction dictates your repair strategy.
Targeted Fixes Based on the Underlying Structural Gap
Once you have identified where the movement is originating, you can choose from three proven mechanical methods to silence it.
The Gentle Shim: Filling Gaps Above the Joist
If your inspection reveals a visible sliver of daylight between the top edge of a joist and the underside of the subfloor, a wood shim is the most direct solution. However, this is also the repair homeowners most frequently bungle.
The most common mistake is hammering the shim aggressively into the gap like a splitting wedge. Driving a shim with excessive force actually lifts the subfloor higher off the joist, opening up new gaps along the rest of the board and transferring the squeak three feet down the room.
The correct technique is gentle and methodical:
-
Take a standard tapered cedar or composite wood shim and coat both sides of the tapered tip with high-tack carpenter’s wood glue or polyurethane construction adhesive.
-
Slide the shim into the gap between the joist and the subfloor using only firm hand pressure.
-
Once the shim seats and stops sliding naturally, give it two very light taps with a small hammer—just enough to ensure firm contact without lifting the subfloor upward.
-
Have your partner step on the floor upstairs. If the squeak is gone, score the protruding fat end of the shim with a utility knife and snap it off flush with the edge of the joist so it does not snag on wires or insulation later.
The goal is not to lift the floor, but simply to fill the empty void with a glued wooden cushion that arrests downward deflection.
Fastening from Below: Drawing the Layers Together
If there is no gap between the subfloor and the joist, the squeak is almost certainly occurring between the subfloor and the finished hardwood planks directly above it. In this scenario, shims are useless. You need to pull the finished flooring tightly down against the subfloor using screws driven from underneath.
This method requires absolute precision, because driving a screw that is even a quarter-inch too long will burst through your beautiful finished oak floor, causing permanent damage.
First, calculate your total assembly thickness. Measure the thickness of your subfloor—standard plywood or diagonal planking is typically three-quarters of an inch. Finished hardwood is usually either three-quarters of an inch or one-half inch thick. If your subfloor is three-quarters of an inch and your hardwood is three-quarters of an inch, your total floor thickness is one and a half inches.
Select a one-and-one-quarter-inch wood screw. This length provides plenty of biting power in the hardwood while leaving a mandatory quarter-inch safety buffer beneath the top surface.
Always follow these mechanical rules when fastening from below:
-
Use high-strength cabinet screws or wood screws with aggressive threads and a flat washer head, rather than standard drywall screws. Drywall screws are brittle and will snap under the shear forces of someone walking across the room.
-
Choose screws with a smooth upper shank, or drill a clearance pilot hole through the subfloor only. If the screw threads bite into both the subfloor and the hardwood simultaneously, the screw will lock the two boards at their current distance rather than pulling them together. A smooth shank allows the screw head to pull the subfloor flush against the hardwood.
-
Add a wide steel fender washer beneath the screw head to distribute clamping force over a broader surface area of the subfloor.
-
Crucially, have an adult stand directly on top of the squeaky spot upstairs while you drive the screw from below. Their body weight compresses the floor layers flat, ensuring the screw cinches the wood tightly without stripping out.
Adding Blocking for Mid-Bay Deflection
Occasionally, you will find a squeak located dead center between two joists, where two sheets of subfloor butt against each other without adequate tongue-and-groove support. When someone walks across the seam, the edges rub together and creak.
Because there is no joist directly underneath to anchor a shim, you must create new structural support by installing a wooden cleat or bridging block.
Cut a piece of two-by-four lumber roughly eighteen to twenty-four inches long. Apply a generous, heavy bead of premium polyurethane construction adhesive along the top narrow edge of the board. Press the two-by-four tight against the underside of the subfloor, bridging across the noisy seam, and secure it flush against the side of the nearest joist using three-inch framing screws.
Next, drive one-and-one-quarter-inch screws down through the two-by-four upward into the subfloor decking, taking care not to penetrate the finished floor above. The adhesive cures into a rock-hard structural bond, while the lumber acts as a bridge that prevents the two subfloor edges from flexing independently when someone steps on the joint.
Mechanical Brackets for Severe Joist Separation
If you are dealing with a badly warped joist where the subfloor has separated significantly and wood shims refuse to stay seated, specialized mechanical brackets offer an industrial-strength alternative.
Known commonly in home centers as floor repair brackets or squeak-relief brackets, these heavy-gauge steel devices consist of an L-shaped bracket and a long adjustment bolt.
You screw one flange of the bracket into the side of the floor joist, while the top plate rests against the underside of the subfloor. As you tighten the integrated carriage bolt with a wrench, the bracket mechanically pulls the subfloor downward toward the joist, compressing the assembly with hundreds of pounds of continuous clamping force.
These brackets provide exceptional holding power in older homes where the subfloor has developed a memory of being warped and resists standard screw fasteners.
Costly Mistakes That Worsen Floor Noise
Fixing squeaky floors is straightforward, but cutting corners will either leave you with louder noises or costly repairs.
-
Never rely solely on construction adhesive: Squirting adhesive into a crack without mechanical fasteners is a temporary fix. As the floor moves and the house changes temperature, the glue will eventually fracture, leaving you back at square one.
-
Avoid over-driving screws: Use a variable-speed drill with an adjustable clutch. Driving a screw too fast or with too much torque will strip the threads out of the bottom of the hardwood plank, leaving a useless hole in the subfloor and zero clamping force.
-
Never use silicone caulk: Silicone is flexible and spongy by design. It does not provide the structural rigidity required to stop wood movement and will simply act as a lubricated cushion that allows the squeak to persist.
Preserving Quiet Floors Through Seasonal Humidity Shifts
Once you have silenced the squeaks from below, you should address the indoor environmental factors that caused the movement in the first place. Wood is an organic, hygroscopic material that continually expands and contracts in response to moisture levels in the air.
During the winter months, home heating systems dry out indoor air, causing floorboards and framing members to shrink, pull away from nails, and open up micro-gaps. In the humid summer months, that same timber absorbs moisture and swells, causing boards to press tightly against each other.
To prevent new squeaks from developing across your home, strive to keep your indoor relative humidity steady between thirty-five and fifty percent year-round. Running a whole-home humidifier during dry winter months and utilizing a basement dehumidifier through damp summer weeks stabilizes the moisture content of your subfloor and joists.
By stabilizing your home’s humidity and utilizing targeted, mechanical repairs from the basement, you permanently silence stubborn floor noises while keeping the timeless surface of your hardwood floors completely pristine.