

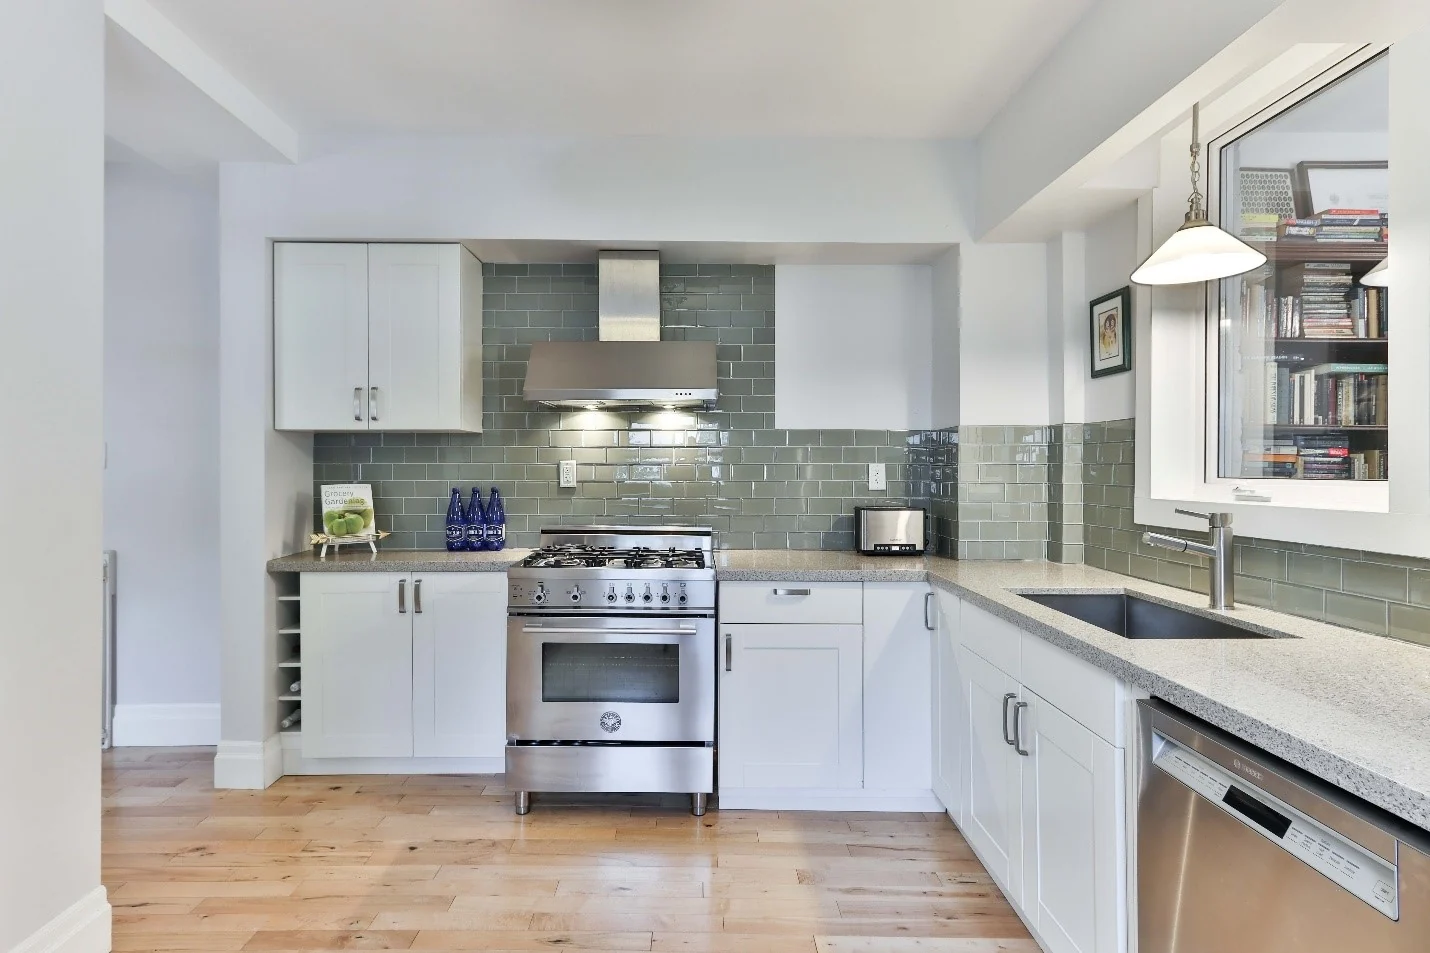
When homeowners plan a kitchen renovation, every square inch receives rigorous scrutiny. Designers spend hours agonizing over the reveal of custom face frames, the vein matching of quartzite waterfall edges, and the ergonomic triangle between the cooktop, sink, and refrigerator. Yet the hardest-working appliance on the floor plan—the robot vacuum—is almost universally treated as an afterthought.
The predictable result is visual clutter. Homeowners complete a five-figure kitchen overhaul only to wedge a massive plastic base station against the end of an island or between the trash pull-out and the pantry. Cords trail across baseboards, charging docks become tripping hazards in active prep zones, and wet mop pads sit directly on newly finished white oak flooring.
Today’s robotic cleaning stations are no longer low-profile charging pucks. Modern flagship models are substantial pieces of domestic utility, housing auto-empty dust bins, clean-water tanks, dirty-water reservoirs, and hot-air drying modules. If you want seamless floor maintenance without compromising the visual architectural lines of your kitchen, you must integrate the machine directly into your spatial layout. Doing so requires balancing navigational physics, custom millwork, and dedicated utility rough-ins.
Navigational Physics: Understanding Sensor Clearances and Corridors
Before cutting into cabinetry or framing out a niche, you must understand how a cleaning robot perceives its environment. These machines rely on a combination of top-mounted LiDAR turrets, forward-facing optical cameras, and infrared docking beacons.
A common design failure is building a cubby that matches the exterior dimensions of the dock down to the fraction of an inch. While this looks tidy on a blueprint, it effectively blinds the robot. As the machine returns from a cleaning run, it needs an unobstructed line of sight to the docking beacon to align its charging contacts and successfully mount the internal ramp.
Manufacturers typically recommend two to three feet of open clearance on both sides of the base station and four feet directly in front. In practical residential design, you can often tighten the side clearances to four to six inches if the dock uses high-precision optical homing. However, you cannot compromise on the approach corridor.
The area immediately in front of the station must remain a clear, flat runway. If a kitchen island corner, barstool base, or trash can intrudes into this turning radius, the vacuum will repeatedly bounce off obstacles, misalign its wheels, and abort the docking sequence with a dead battery. Furthermore, the dock must rest flat on the finished floor. Placing a dock on a recessed platform with even a half-inch vertical lip will high-center the robot’s drive wheels and prevent it from climbing home.
Millwork Solutions for Custom Kitchen Renovations
If you are building custom cabinets or executing a full tear-out, you have the opportunity to make the vacuum completely unobtrusive while preserving optimal machine performance.
The Floating Cabinet Run
Standard kitchen base cabinets sit atop a recessed four-inch toe-kick. While the robot vacuum chassis itself is typically under four inches tall, its cleaning station easily reaches sixteen to twenty-four inches in height.
One of the cleanest architectural solutions is cantilevering a run of base cabinetry off reinforced wall framing. By floating a secondary bank of cabinets—such as a dry bar, coffee station, or secondary prep counter—fifteen to eighteen inches above the finished floor, you create a deep, continuous shadow reveal. The docking station sits flat on the floor underneath the cabinetry, sheltered from view and out of foot-traffic lanes, while retaining full 180-degree navigational clearance.
The Island Endcap Niche
The kitchen island naturally serves as the central hub of floor traffic, which makes it an ideal launching pad for daily vacuum routines. Rather than finishing the short end of an island with decorative wainscoting or shallow spice storage, design an open, finished niche into the base architecture.
An inset alcove measuring twenty inches wide, twenty inches deep, and twenty inches high allows modern auto-empty docks to sit flush with the surrounding cabinetry panels. When painted or stained to match the cabinet interior, the dark finish visually absorbs the silhouette of the machine. The vacuum departs directly into the main kitchen aisle without wrapping around corners or fighting furniture legs.
The Low Appliance Garage
For homeowners who refuse to look at cleaning hardware altogether, a floor-level appliance garage offers complete concealment. This setup uses a standard base cabinet footprint with the bottom floor panel cut flush to the home’s finished flooring.
Enclosing the station behind cabinetry doors introduces an operational challenge: the doors must be open for the vacuum to run. Pocket doors that slide back into the cabinet sides, or custom bifold doors fitted with soft-close hardware, work best here.
Some homeowners automate this setup using smart cabinet door openers synced to their home automation routines, prompting the doors to glide open ten minutes before the scheduled cleaning cycle begins. Alternatively, a pair of lightweight, bottom-hinged cafe-style saloon doors with magnetic returns allows the vacuum to push its way out and back in without manual intervention.
The Walk-In Pantry: The Ideal Command Center
If your kitchen footprint includes a walk-in pantry, butler’s pantry, or secondary scullery, placing the vacuum inside this utility zone is often superior to carving out space in the main kitchen perimeter.
The pantry naturally houses functional, unglamorous items like blenders, slow cookers, and bulk dry goods. Relocating the cleaning dock here isolates the noise of high-velocity auto-empty cycles, which can reach seventy to eighty decibels when purging dust bins. It also keeps damp mopping smells away from high-end dining areas.
The primary obstacle with a pantry installation is the door. If family members habitually shut the pantry door, the robot is trapped inside or locked outside.
To solve this, coordinate with your finish carpenter to undercut the interior door. While standard interior doors have a three-quarter-inch floor clearance, increasing that bottom undercut to four and a half inches allows the vacuum to clear the door frame effortlessly even when the door is latched.
If a large undercut creates an awkward visual line in a formal hallway, you can install a discreet, color-matched passage arch or magnetic flap along the bottom rail of a solid-core pantry door.
Engineering the Utilities: Power, Plumbing, and Moisture
A functional vacuum home is not merely a piece of decorative woodworking; it is a mini utility closet that requires thoughtful MEP (mechanical, electrical, and plumbing) rough-ins.
Dedicated Electrical Placement: Standard electrical codes place baseboard outlets twelve to eighteen inches from the floor, often resulting in messy coiled cables. When framing your vacuum niche or pantry bay, rough in a dedicated 120-volt outlet five inches off the finished floor directly behind the planned dock location. This keeps cords completely hidden behind the unit’s body and avoids conflicts with kitchen countertop GFCI circuits that might trip under intermittent motor loads.
Direct Water and Drainage Rough-Ins: Premium robotic mops now feature optional plumbed kits that eliminate the need to manually refill clean water and dump gray water. These kits connect directly to residential plumbing.
If your vacuum station sits adjacent to a sink, dishwasher, or refrigerator water supply, have your plumber run a quarter-inch braided water line with a dedicated quarter-turn shutoff valve. For gray water discharge, plumb a dedicated drain line tied into the existing kitchen drainage stack or a secondary sink drain branch above the P-trap. Hardwiring these water lines transforms the machine into a completely autonomous utility.
Ventilation and Moisture Management: When a robot mop washes its pads, the dock runs an internal heating element and fan to dry the wet microfiber over several hours. In a tight, enclosed cabinet box, that humid exhaust can cause condensation to build up on raw cabinetry substrates, leading to swelling, mold, and cabinet box failure.
Ensure any enclosed cabinet housing a mop station incorporates cross-ventilation. A low-profile aluminum floor register cut into the cabinet side panel or a slatted cabinet door face provides sufficient passive airflow. In exceptionally tight millwork, consider installing an ultra-quiet, five-volt cabinet cooling fan that triggers when ambient humidity inside the cabinet rises.
Retrofitting an Existing Kitchen Without Remodeling
If custom millwork is not currently on your schedule, you can still improve your vacuum placement through strategic furniture selection and minor layout adjustments.
Begin by identifying dead zones in your existing floor plan:
-
The gap between the refrigerator enclosure panel and an adjacent return wall often leaves eight to twelve inches of wasted floor space.
-
The open space beneath a freestanding, leg-supported kitchen prep table or butcher block cart provides natural overhead clearance.
-
The toe-space void under an elevated breakfast banquette or dining nook bench offers ample room for a low-profile charging pad.
When retrofitting on finished hardwood, protect your flooring investment. Modern mopping docks frequently sit damp pads on the floor as they dry. Over several months, moisture can cup or stain polyurethane-finished oak and engineered planks. Always place a discreet, non-slip silicone mat beneath the base station to safeguard the wood without creating an insurmountable obstacle for the robot’s drive wheels.
Sizing for Hardware Longevity
The consumer robotics industry iterates rapidly. The dock you purchase today will likely be replaced by a different model five to eight years from now, and its form factor may differ significantly.
When designing custom cabinetry, never build an enclosure tailored to the precise millimeter of a single machine. Always design with generous universal tolerances.
Aim for a minimum interior width of twenty-four inches, a depth of twenty-two inches, and an overhead vertical clearance of twenty-six inches. This generous vertical height is crucial: even if you do not opt for a plumbed model today, you must leave adequate arm room to lift the heavy water reservoirs straight out of the top of the dock without skinning your knuckles against the upper cabinet shelf.
By prioritizing universal clearances, providing dedicated power and water access, and respecting the machine’s navigation sensors, you create an integrated architectural solution that keeps your kitchen spotless while preserving its clean, uncluttered design.